Kitchenthoughts: how to form filled pasta
Yesterday I had a post about how to prepare and handle pasta dough. Today I wand to show you how to make filled pasta from you sheets of dough.
A few general notes on the forming of pasta from my own experience:
First, always leave a dry edge around the outside of your pasta that is not touched by filling. Because a wet pasta dough does in my experience not stick together well, when you try to close the edges. And this will lead to open edges during cooking and will cause all your delicious filling to end in the boiling water. And all that you will have left, will be a sad, overcooked hull of pasta.
Second, it is always a good idea to lift up your cut out forms before putting your filling on them, to make sure they do not stick to your work surface. Because there is nothing sadder, then if your finished forming the pasta and it tears when you try to move it.
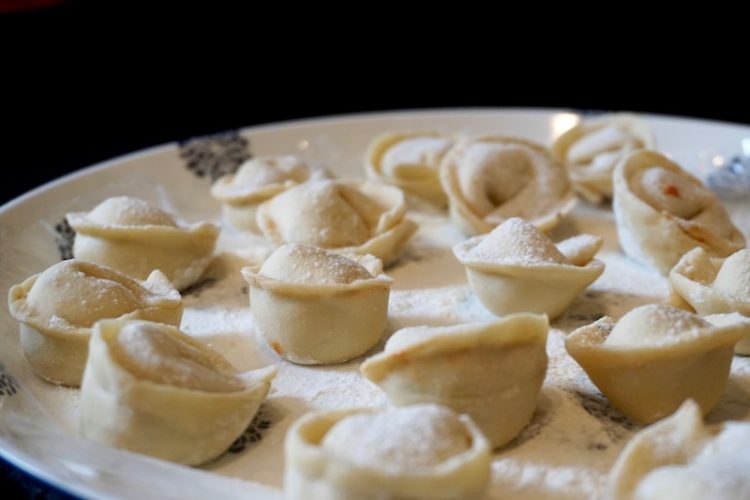
And third, store your finished pasta on a tray or plate covered with plastic foil and not touching each other(risk of sticking together and tearing during separation). It is easy to lift the pasta up from the foil again. Please do not store your finished beauties longer (and here I mean over 30 minutes) on the fresh air or in the fridge. Because the damp filling will soak through the bottom of the pasta in that time. And if you then try to lift it up it will tear and we have the drama.
It is also really easy to freeze the pasta on this covered tray, before you can move them to a freezer bag after one day (when they are frozen through). To keep the pretty form of the pasta and to prevent sticking together (and thus tearing during separation) it is advisable to not put them in unfrozen in a freezer bag.
And to finish one more note, that as an exception will not lead to teared pasta if you do not regard it: remember that pasta dough expands when cooked. It will add about 1 inch in all directions. So your sweet little 2 inch ravioli will suddenly be pretty large with 3 inches. But hey, at least they didn’t tear and still taste yummy.
And equipped with these tipps (sadly partially tested by me), now on to forming the pasta.
Variation 1: Ravioli
Cut circles from your sheet of dough with a glass (I use a champagne glass). Lift all circles up once.
Now put a dab of filling in the middle on half of the circles.
Now take the free half of the circles, put them onto of the filled circles and close the small edge well. This works well, if you place the lower, filled circle in your palm, because then you can pinch down on the edge from both sides.
If you do not like the slightly frayed look of the edges after closing take your glass and cut out a pretty circle once more (but don’t open the edge doing so).
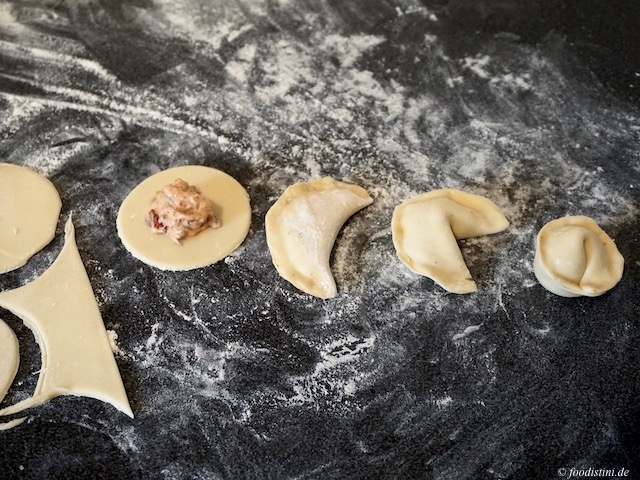
Variation 2: Tortellini
Cut circles with a glass from your sheet of dough. Lift all circles up once more.
Now put a dab of filling in the middle on the circles.
Fold your circle in the middle and close the edge of the half circle. Make sure the filling is not pushed outside of the edge (because then it becomes hard to close the edge). I personally take the filled circle in my palm and hold it like a taco. Then I will carefully close the middle and work my way down to one edge. No I turn the pasta with the still open side up (so gravity helps me a little bit to keep the filling in) and close that side as well.
If you would like you can recut the frayed edge with your glas.
Now pull the edges from you semi-circle to the front, forming a fortune cooky. Then place the end points on top of each other and lightly press together the contact point.
Variation 3: Maultaschen
And finally my favorite form: Maultaschen. These are a German classic recipe from the region around Stuttgart in the south of Germany. You could describe them as squared ravioli filled with meat and spinach, but this is not a very good description.
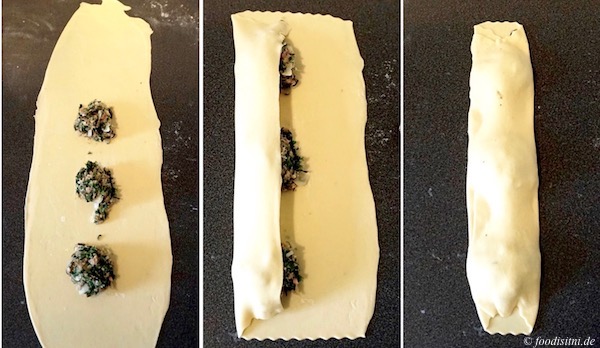
To make them prepare a dough sheet that is 6 inch wide (lift this one up as well before filling it).
Now place in the middle of your sheet 1 inch apart small heaps of your filling.
Put one side of the sheet over the middle and pull it tight, making sure not to push the filling away.
Now take the other half of the sheet and place it over the middle as well, making sure to enclose as little air as possible and pushing down the edge a little (again without pushing the filling away).
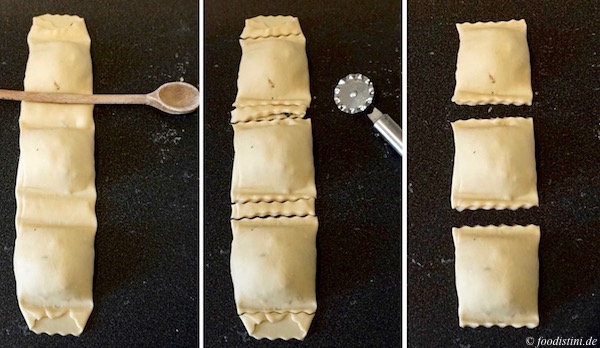
With the handle of a wooden spoon now press down the empty space between your heaps of filling. Make sure that the filling does not wander into the space you are trying to close.
After that cut with a knife or pastry wheel (the silver tool you can see in the picture) the Maultaschen apart and carefully push them flat.
Variation 4: Bonusform
If you run out of filling, but you still have dough: well roll it out and cut Linguini, or in other words small stripes, with a knife. Let them dry until you want to cook them. Because from this pasta dough you can make also pasta that is not filled – who would have thought.
And with what shall I fill them?
Well Ravioli or Tortellini can be filled with almost everything. Be creative. The easiest route is to buy some pesto or tomato sauce and use that as your filling.
Or you could try out my recipe for tortellini with a filling of dried tomatoes, pumpkin seeds and cream cheese (Recipe) or Ravioli with beet root, feta and walnuts (Recipe). And of course there will also be a recipe for filling the Swabian Maultaschen (Recipe).